What is an AI video storyboard?
A shot-by-shot plan listing the purpose, framing, action, camera, light, duration and references for each clip, so separate AI generations can be edited into one sequence.
SPICYFRAME · PRACTICAL GUIDES
Build an AI video storyboard: turn one idea into a shot list, keep references consistent, write a prompt per shot, budget the clips and edit the sequence.
5 seconds · 480p · $3.99. Pay per video, no subscription required.
Updated
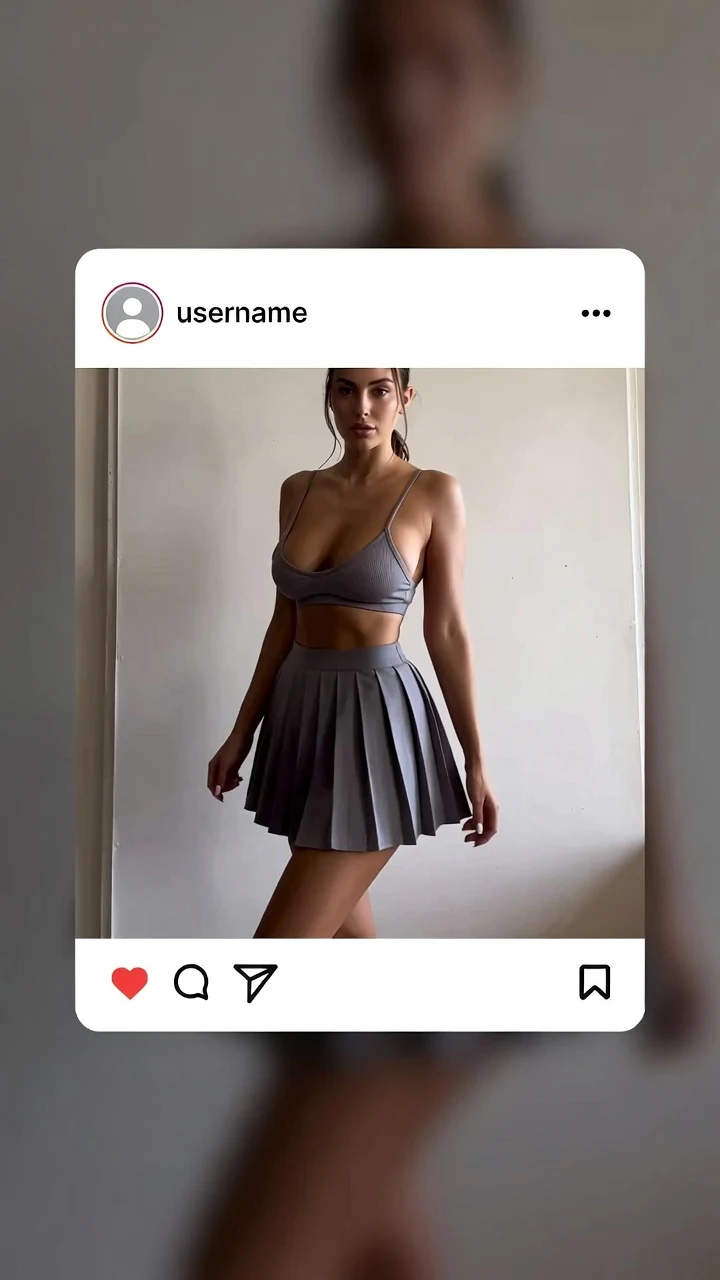
A public SpicyFrame example illustrating the guide. Results depend on the photo and prompt.
To storyboard an AI video, write the single message the viewer should take away, break it into three to five shots with one purpose each, choose one consistent reference set, and write a separate prompt per shot that repeats the same identity, outfit and light details. Generate each shot as its own clip, test the key shot first at five seconds, then assemble the approved clips in a video editor. In SpicyFrame every generation is one continuous vertical scene, so the storyboard is what turns several clips into a sequence with cuts, angles and a clear ending.
An image-to-video render produces one continuous shot from your photos and prompt. It does not cut between angles, change location mid-clip or remember a previous order. Trying to fit an entire story into one 30-second prompt usually produces drifting faces and improvised motion. A storyboard splits the idea into short, controllable shots that each do one job, so you can review, replace or re-render a single shot without touching the rest. It also lets you plan the budget before spending piments, and it gives you a record of exactly which references and prompts produced each approved clip.
Write one sentence describing what the viewer should feel or notice, such as “This dress looks effortless at golden hour” or “Meet the creator behind the page.” Then decide the final frame: the image the viewer should be left with, usually a confident portrait, a product hero shot or the full outfit. Working backwards from the ending keeps every shot purposeful. If a shot does not support the message or lead to the ending, cut it. A short sequence of three strong shots is more watchable than eight loosely related ones.
Use classic shot roles. An establishing shot sets the scene: a full-body view or the location. A detail shot draws attention to texture, jewelry, fabric or a product. A movement shot carries the action: a walk, a turn or a reveal. A reaction or portrait shot connects with the viewer through expression. A closing shot holds the final frame. Three shots, such as establishing, detail and portrait, already form a sequence. Vary framing between neighbouring shots, wide then close, so the cuts feel intentional rather than like jump cuts.
A storyboard can be a table rather than drawings. For each shot, write: shot number, purpose, framing, subject action, camera move, light, sound, duration, quality and the references used. Example row: “Shot 2, detail, waist-up close view of the satin fabric, hand rests still, locked camera, warm side light, quiet room tone, 5 seconds, High, @Image 1 and @Image 2.” Filling every column forces decisions before generating, which is cheaper than discovering them after a paid render. Keep the list next to your downloads so you can match each file to its row.
Continuity between separately generated shots comes from reusing the same references and the same descriptive words. Pick one lead identity photo, one outfit reference if needed and, optionally, one setting photo, and use them in every shot in the same upload order so the @Image numbers stay identical. Check hair, makeup, accessories and light direction across the set before uploading. Write a continuity line once and paste it into every prompt, for example: “@Image 1 for face and hair, @Image 2 for the black satin dress, warm golden-hour light from the left, preserve face, hair and dress.”
Combine the continuity line with the shot’s own action and camera. Shot 1, establishing: “[continuity line] Full-body view on a rooftop terrace, the adult subject takes one slow step and pauses, slow push-in, distant city ambience.” Shot 2, detail: “[continuity line] Close view of the dress fabric at the waist, slight natural movement in the breeze, locked camera.” Shot 3, portrait: “[continuity line] Head-and-shoulders portrait, small turn toward the camera and a soft smile, very slow push-in.” Keep each prompt to one action and one camera move, and vary only what the shot needs.
The three-shot teaser above runs 20 seconds: a ten-second establishing walk, a five-second detail and a five-second portrait. Final renders in High 720p cost 899 + 499 + 499 = 1,897 piments ($18.97). Testing each shot first at five seconds in Medium 480p adds 3 × 399 = 1,197 piments, for a planned total of 3,094 piments ($30.94) before any retries. Budget a little extra for one or two additional attempts on the hardest shot, usually the one with the most movement. Every price is shown before checkout, and each render is a separate request.
Generate the most important or most difficult shot first, usually the movement shot or the final portrait, at five seconds in Medium 480p. If the face, outfit and light hold, the reference set works and the other shots are likely to match. If it fails, fix the reference set or the continuity line before generating anything else; otherwise every shot inherits the same problem. Once the key shot is approved, render the rest. Upgrade to High 720p for finals only after the sequence plan has been confirmed.
Download the approved clips and place them in order in a video editor. Trim the first and last moments of each clip, where motion often settles in or out, and cut on movement when possible, such as mid-turn, so transitions feel natural. Match brightness and colour across clips before adding effects. Generated audio differs between clips, so lay a continuous ambient bed or licensed music under the whole sequence to smooth the cuts. Add titles, captions, logos and calls to action in the editor, where their spelling is exact.
If the face differs between shots, reuse the identical lead portrait and continuity line, and keep each face large in frame. If the outfit changes, add or strengthen a single outfit reference. If the light shifts, describe the same light source and direction in every prompt. If one shot looks out of place, re-render only that shot rather than the whole sequence. If cuts feel abrupt, vary framing more between neighbouring shots or cut on motion. Keep rejected clips and notes, since they show which changes helped.
| Shot | Framing and action | Camera and light | Length and quality |
|---|---|---|---|
| 1. Establishing | Full body on a rooftop, one slow step and a pause | Slow push-in, golden-hour light from the left | 10 seconds, High 720p (899 piments) |
| 2. Detail | Close view of the dress fabric moving in the breeze | Locked camera, warm side light | 5 seconds, High 720p (499 piments) |
| 3. Portrait | Head and shoulders, small turn and soft smile | Very slow push-in, same warm light | 5 seconds, High 720p (499 piments) as the final frame |
A shot-by-shot plan listing the purpose, framing, action, camera, light, duration and references for each clip, so separate AI generations can be edited into one sequence.
No. Each generation is one continuous vertical scene. Generate each storyboard shot separately and assemble them in a video editor.
Three to five. Three shots, such as establishing, detail and portrait, already tell a clear story and are easier to keep consistent.
Reuse the same lead portrait and reference order for every shot, paste the same continuity line into each prompt and keep faces large in frame.
The example in this guide costs 1,897 piments ($18.97) for High 720p finals plus 1,197 piments for three five-second Medium tests. Prices are shown before checkout.
No. A written shot list with one row per shot is enough to decide framing, movement, order and budget before generating.