5 seconds · 480p · $3.99. Pay per video, no subscription required.
Updated
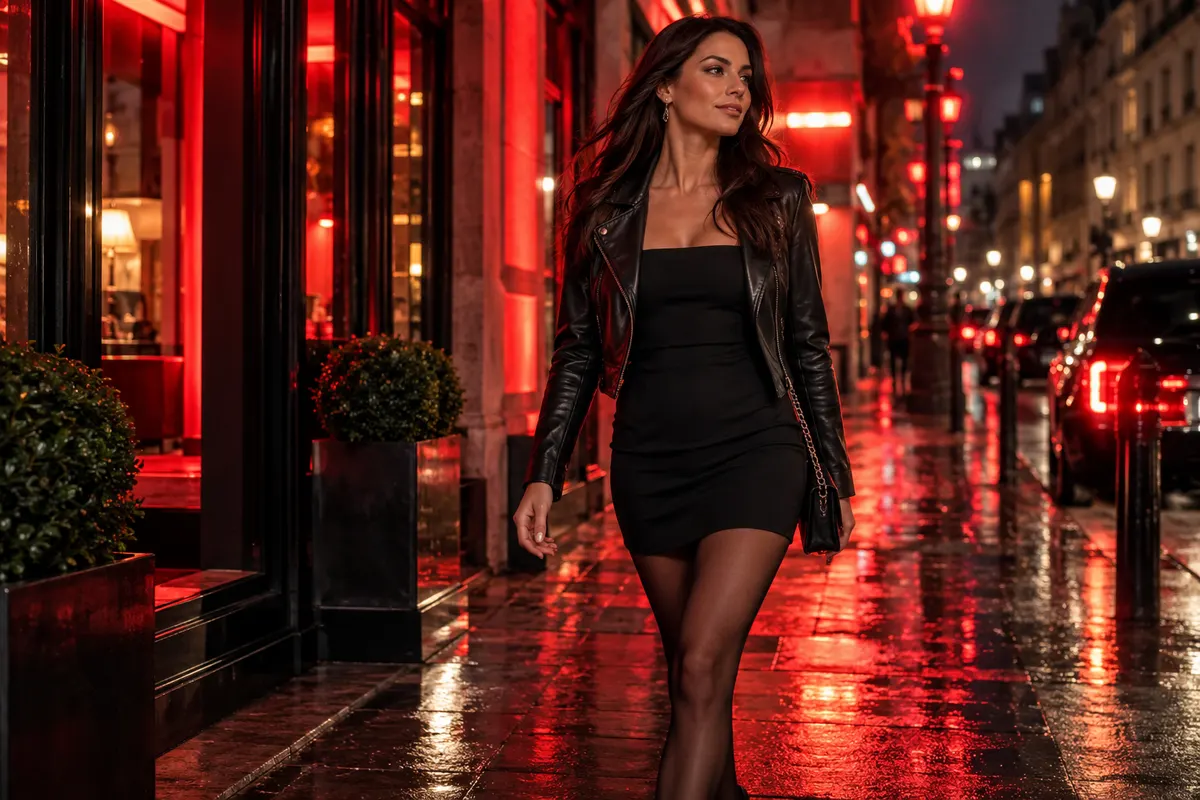
AI-generated editorial illustration: an adult fashion look in red city light. This is a styling reference, not a video-generation result.
Make red light serve the fashion portrait
Red light glamour photography can inspire a striking adult fashion video when color supports the face and clothing rather than hiding them. Begin with an authorized reference of a consenting adult in a complete outfit. Decide what the viewer should notice first: a sculpted jacket, a calm expression or the contrast between a dark silhouette and a red background. One saturated color is already a strong visual decision. A small gesture and restrained camera give it room to work. This guide treats glamour as polished portrait and fashion styling, with no sexual action or arousal focused posing. The practical challenge is retaining readable form inside an intense color treatment.
Choose a red source, not a red instruction everywhere
Specify whether the red comes from a side light, a luminous backdrop or a visible practical lamp. These arrangements produce different shapes. Red side light can define one cheek and sleeve, while a red background with neutral light on the subject keeps clothing color more readable. Asking for every surface to glow red often removes the contrast you need to inspect the subject. Check the reference for existing light direction before replacing it. If a bright window illuminates the right cheek, a new red source from the left requires substantial relighting. The lighting guide helps name a source and supporting fill without implying separate studio light controls.
Keep texture visible inside saturated areas
Red illumination can make skin and fabric look smooth or flat even when their shapes have changed. Select a reference with clear seams, buttons and facial features, then identify two or three details that must remain visible. A black jacket may need a little neutral fill to separate its lapel from the torso. A white shirt under red light will appear redder, but it should not become a different garment with new panels. If exact product color is the main requirement, use a neutral product image alongside the editorial video. A stylized red portrait is an interpretation of light and color, not proof of the garment’s exact appearance under standardized conditions.
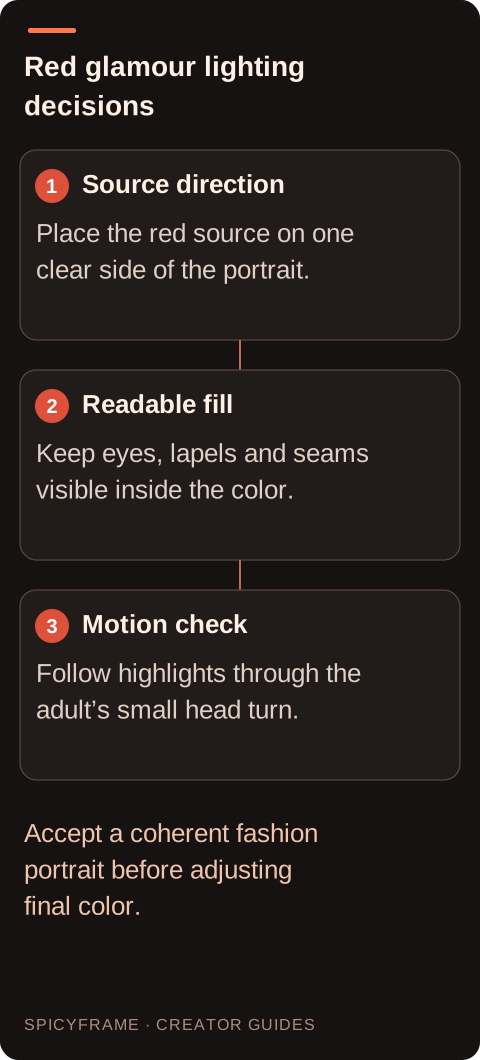
Source direction: Place the red source on one clear side of the portrait.. Readable fill: Keep eyes, lapels and seams visible inside the color.. Motion check: Follow highlights through the adult’s small head turn.. Accept a coherent fashion portrait before adjusting final color.
Choose a pose with room for the light to explain it
A three quarter adult portrait with a small head turn can show the red source moving across a coherent face. Keep hands visible or comfortably outside the crop; a half hidden hand against a red sleeve is hard to judge. A standing fashion pose, seated upright portrait or single slow step can all fit the concept. Avoid a long series of gestures that makes the light change for several reasons at once. The portrait animation guide provides a useful baseline for expression. Here the extra task is checking whether the red treatment keeps the eyes, jaw and collar readable during the chosen movement.
A prompt that separates subject and background
A proposed brief might read: “Use @Image1 for the consenting adult in the charcoal tailored jacket. Red light from camera left shapes the jacket and one side of the face, with soft neutral fill and a dark simple background. One small head turn toward the lens, relaxed expression, steady camera, quiet studio ambience.” This describes a five second fashion study, not a tested result. @Image1 clarifies the source role but does not guarantee identity or wardrobe preservation. There is no separate negative prompt field or exact lighting control assumed here. If the result turns the face into a flat red patch, simplify the color request and strengthen the request for readable form.
A hypothetical jacket portrait comparison
Imagine a stylist has permission to animate an adult portrait wearing a black jacket with pale stitching. Version A uses red side light and a dark backdrop. Version B uses a red backdrop while the face and jacket receive softer neutral light. Keep the reference, gesture and duration the same to make the comparison useful. Review whether the stitching remains continuous, the eyes remain recognizable and the shoulder shape stays stable. Generative variation may change other details too, so record those changes rather than attributing every difference to lighting. The preferred version is the one that communicates the approved fashion idea. This example does not report a real render, campaign outcome or success rate.
Inspect exposure and color over time
Watch the clip normally before pausing on problem areas. Does the red intensity pulse while the subject stays still? Does one cheek abruptly turn gray? Do highlights travel with the head or slide independently over the skin? These are continuity questions, not just color preferences. Check dark fabric at the cuffs and collar, where a small shape change can disappear into shadow. The artifact guide can help separate texture shimmer from geometric drift. A higher output resolution may reveal more detail, but it cannot restore a face or seam the generation has changed. Resolve the lighting logic and garment structure before considering the final pixel count.
Finish with a clear adult fashion context
SpicyFrame delivers vertical 9:16 MP4 clips with ambient audio in 5, 10 or 30 seconds. Start with a short lighting study unless a longer action has a specific purpose. Medium 480p, High 720p and Ultra 1080p are resolution choices, not guarantees of color accuracy. Review the clip on a phone because saturated red can dominate a small display, then listen for sound that does not fit the quiet studio. Detailed color adjustment, replacement sound and titles belong in an external editor. Use fashion video planning to place the clip within a wider presentation, and describe the AI treatment honestly when viewers might otherwise assume a conventional recorded photo shoot.
Red-light glamour video: planning decisions
Choice
Use when
Acceptance check
Red side light
Facial shape should carry the color treatment
Eyes, jaw and jacket seams remain readable
Red backdrop
Garment and skin need more neutral illumination
Background color does not spill unpredictably
Soft neutral fill
Dark clothing loses structure in shadow
Lapel and sleeve edges stay separate
Small head turn
Light should move for one observable reason
Highlights follow the face without sliding
External color finish
The geometry already meets the brief
Grading preserves detail rather than hiding distortion
AI image-to-video questions answered
Is red-light glamour necessarily sexual?
No. This workflow uses fully clothed adult fashion and portrait styling. The red light is an art direction choice. Keep gestures, framing and captions aligned with the agreed fashion concept rather than adding sexual implications the subject did not approve.
Should the face be entirely red?
Only if that matches the concept and remains readable. A restrained neutral fill can help preserve facial structure, while a red backdrop creates the mood without bathing every skin and fabric surface in the same saturated color.
Why do jacket details disappear?
Dark fabric, intense color and deep shadows can merge seams and lapels. Choose a clearer reference, simplify the light and inspect the garment at the intended viewing size. More resolution does not fix missing structural information.
Can I guarantee accurate skin color?
No. Colored lighting deliberately changes appearance, and generation can add further variation. Define an acceptable stylized treatment with the adult subject, then review the result rather than presenting it as a neutral record of their skin tone.
Is a red background easier than red face lighting?
It can make identity and garment review clearer because the subject can retain more neutral illumination. That is a creative option, not a reliability guarantee. Compare both approaches against the specific face and outfit in your source.
Can I adjust red intensity after generation?
An external editor can make color adjustments, but severe clipping or changed facial geometry may not be recoverable. Preserve the original export and decide whether the problem is grading, lighting interpretation or a fundamentally unsuitable generation.